PDR Tools for Car Dent Blending: What to Choose and How to Use Them Leave a comment

PDR blending involves intensive mechanical action on metal, typically used for complex and deep damage. However, PDR repairs are also effective for small and medium dents that require less intensive treatment.

In this article, we will explore the specifics of PDR blending, the tools required for such repairs, and how to use them correctly.


What is Paintless Dent Repair (PDR)?


Paintless dent removal (PDR) is a method of repairing damage to a car body without using paint or putty. This repair technique employs specialized tools that gently apply pressure to the damaged area from the backside, gradually pushing the metal outward to restore its original shape. This process repairs the bodywork without damaging the original paint.

This method is ideal for minor damage where the car’s paint remains intact. Typically, PDR is used for minor dents caused by impacts or adverse weather conditions such as hail, falling branches, or rocks. PDR can also serve as a preliminary step in a larger repair process, preparing the damaged surface for subsequent painting and reducing the need for filler.


PDR or Traditional Repair: Which is Better?


Paintless Dent Repair (PDR) is a quick, economical, and environmentally friendly solution for repairing small dents on a vehicle. This method preserves the factory paint finish and restores the vehicle without compromising its original appearance or value.

While traditional repairs can be more time-consuming and costly, they offer high-quality restoration and a wider range of options for different types of damage. The appropriate choice between the two methods depends on the size, type, and location of the dent on the vehicle.


Paintless Dent Blending: What It Is and When It Is Applied


Paintless dent blending is a specialized method of repairing damaged areas on a vehicle’s body through more intense mechanical action on the metal. This technique utilizes specialized tools to apply controlled pressure, actively straightening dents that require additional force. It is particularly effective for addressing complex and deep damage, such as large dents or body deformations resulting from serious collisions or accidents.


In the process of paintless dent blending, technicians use blending hammers and other tools to smooth out the dent gradually. The aim is to restore the metal to its original shape without affecting the surrounding paint. This method is especially useful for blending out the edges of larger dents, ensuring a seamless repair and maintaining the vehicle’s aesthetic integrity.


Paintless dent blending is ideal for cases where the damage is extensive and requires meticulous attention to detail. It allows for high-quality restoration without the need for repainting or using fillers. This method ensures that the repaired area matches the rest of the vehicle perfectly, both in terms of appearance and structural integrity.


In summary, paintless dent blending is an advanced technique designed for repairing severe and complex dent damage. It provides a high-quality, paint-free solution for restoring a vehicle’s bodywork to its original condition.


What Are the Best Tools to Use for Paintless Dent Repair (PDR)?


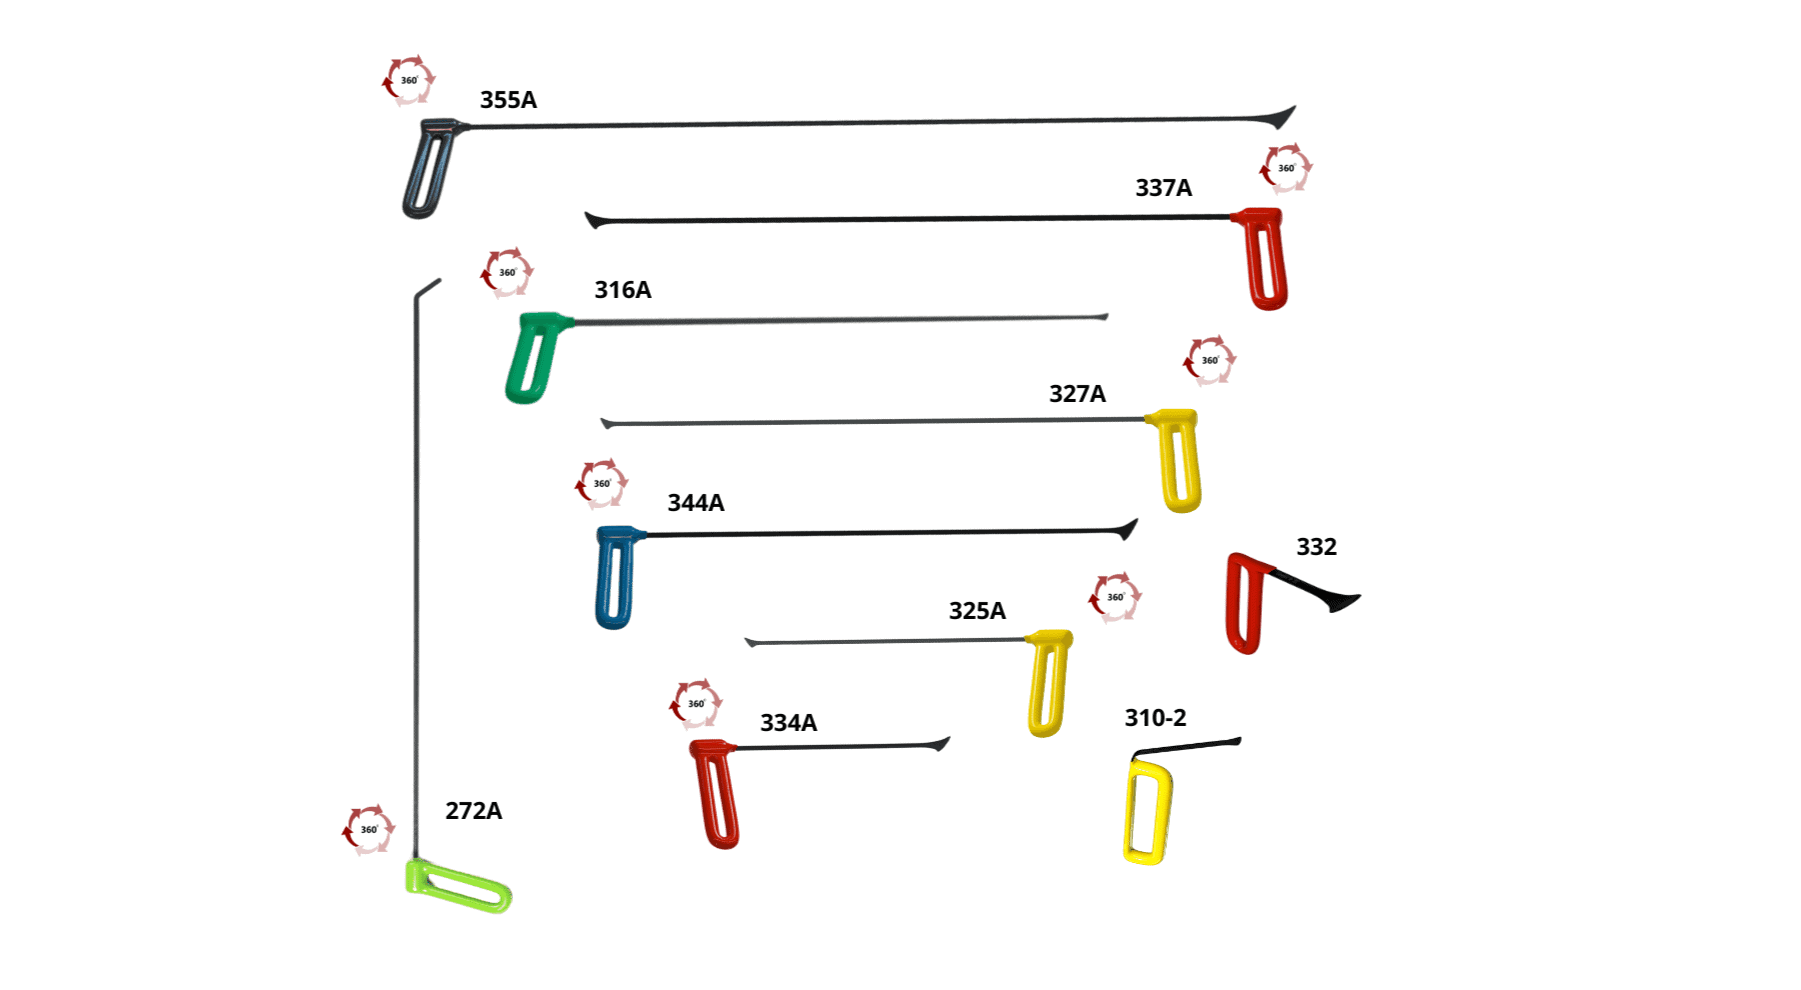
The key factor in paintless dent repair (PDR) is the proper selection and use of specialized tools. In this section, we will review and describe the tools that are suitable for both beginners and experienced craftsmen.
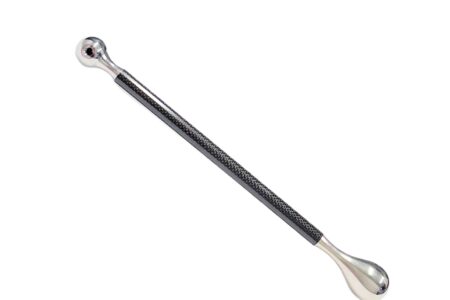
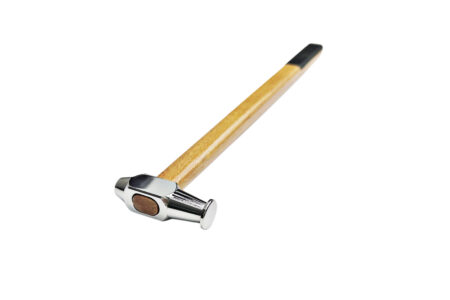
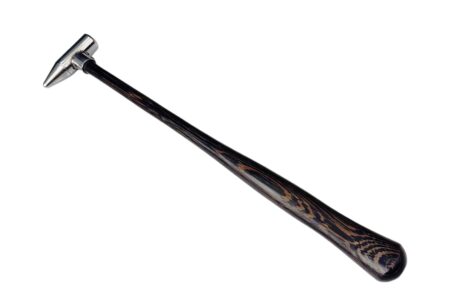
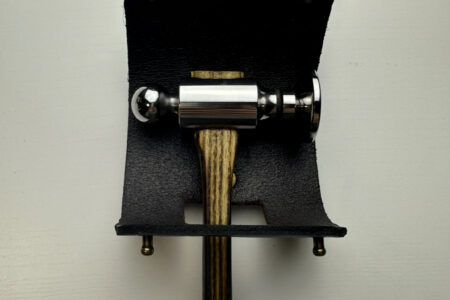
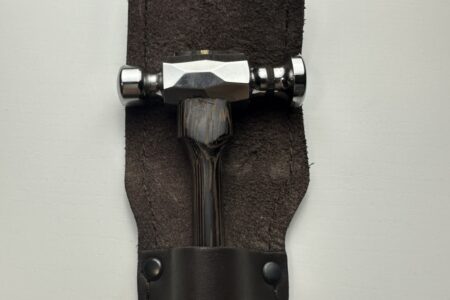
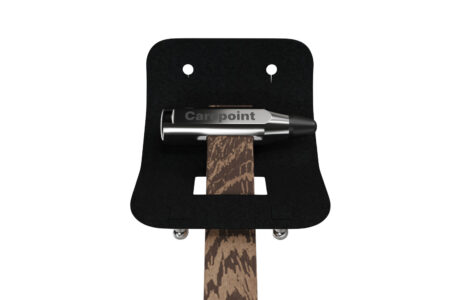
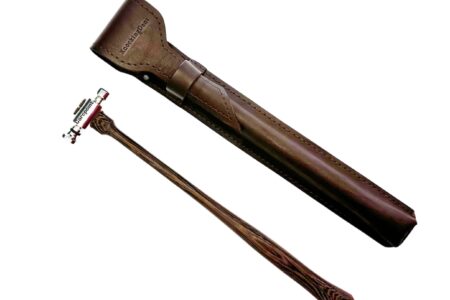
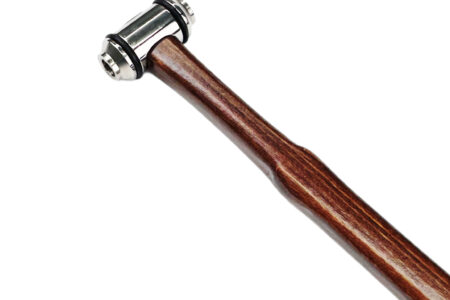
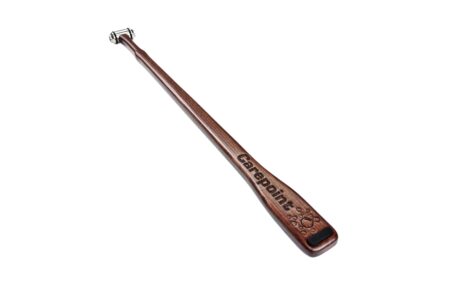
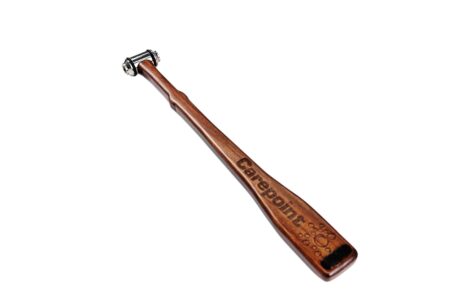
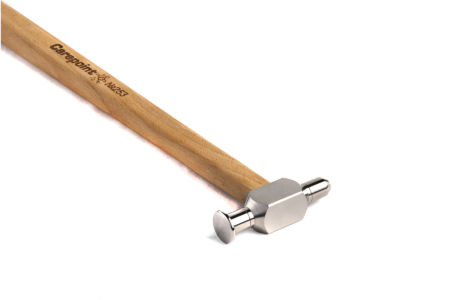
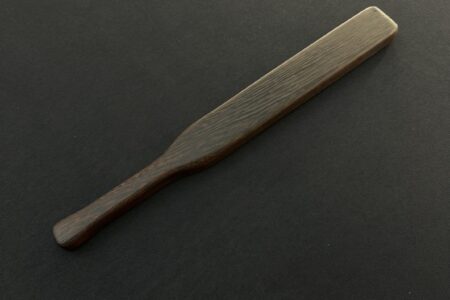
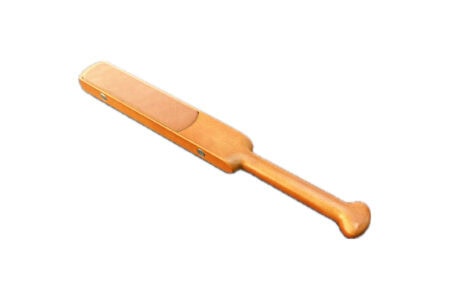
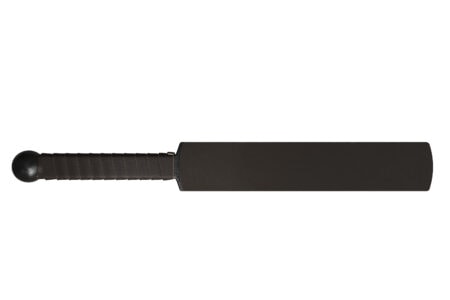
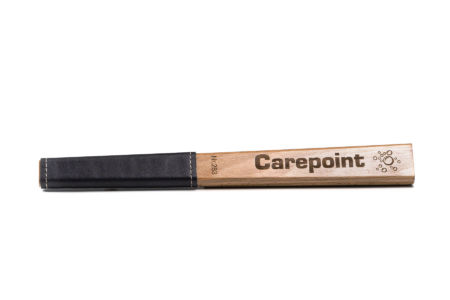
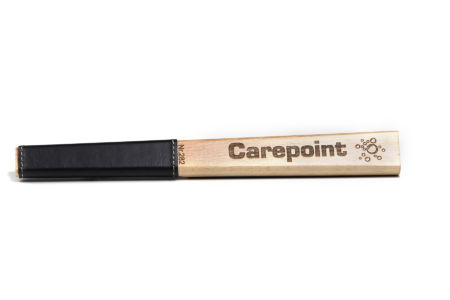
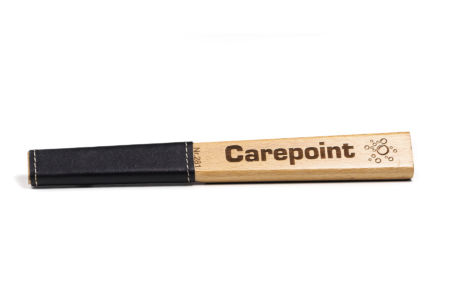
 

Hammers


Hammers are indispensable in the PDR process, especially for the blending technique. They come in a wide variety of shapes, sizes, and weights, each tailored for specific tasks. The primary advantage of PDR hammers lies in their ability to deliver controlled, precise taps that help in reshaping the metal without damaging the paint. Blending hammers, for instance, have flat, polished heads that distribute force evenly, making them ideal for smoothing out large, shallow dents.


PDR hammers are typically lightweight and ergonomically designed to reduce user fatigue. The heads can be made from various materials such as steel, aluminum, or plastic, depending on the required application. The handle is often made of fiberglass or wood, providing a comfortable grip and good vibration dampening. The variety in design ensures that technicians can choose the best hammer for their specific needs, allowing for greater precision and control during the repair process.

How to Use Hammers Correctly


  1. Select the appropriate hammer based on the dent’s size and location. For instance, a blending hammer with a flat head is suitable for large, shallow dents.
  2. Position yourself so you have a clear view of the dent and surrounding area. Ensure good lighting and a stable working position to maintain control.
  3. Hold the hammer with a relaxed grip to ensure controlled taps. Avoid gripping too tightly, as this can lead to excessive force and less precise control.
  4. Start tapping around the edges of the dent, not directly on the center. This approach helps to gradually blend the dent into the surrounding metal without creating new high spots.
  5. Use rhythmic, gentle taps to gradually blend the dent into the surrounding metal. Consistent tapping at a steady pace helps to evenly distribute the force.
  6. Continuously check your progress from different angles to ensure even pressure distribution. Adjust your technique as needed based on the feedback from the dent.
  7. If needed, use a tap-down tool to smooth out any high spots. This additional step ensures a perfectly smooth finish.

Imagine a hailstorm has left your car with several shallow dents on the hood. A PDR technician would use a blending hammer to tap around the edges of each dent, gradually smoothing them out. The careful and precise tapping helps restore the hood to its original condition without the need for repainting. This method preserves the car’s original paint job, maintaining its value and appearance.

Tips


Tips are interchangeable attachments that can be fitted onto rods or hammers, providing versatility in tackling different types of dents. The main advantage of using various tips is the ability to adapt to the specific contours and depths of dents, ensuring precise and effective repair. Sharp tips are ideal for pinpointing small, precise dents, while blunt and rounded tips are better suited for larger, softer dents.


The variety of tips available allows technicians to choose the perfect tool for each unique dent. Tips can be made from materials like plastic, steel, or even rubber, each providing different levels of hardness and flexibility. Some tips are designed to minimize the risk of paint damage, making them ideal for delicate areas. The versatility of tips enhances the efficiency and effectiveness of the PDR process, enabling technicians to handle a wide range of dent types and sizes.

How to Use Tips Correctly


  1. Choose the appropriate tip based on the dent’s characteristics. For example, use a sharp tip for small, precise dents and a rounded tip for larger, softer dents.
  2. Attach the selected tip to the rod or hammer securely. Ensure that the tip is firmly in place to prevent it from slipping during use.
  3. Insert the tool behind the panel through an existing opening or by carefully creating access. Be mindful of any wiring or components that could be damaged.
  4. Apply consistent pressure with the tip to the center of the dent, gradually pushing it outwards. Use slow, controlled movements to avoid overstretching the metal.
  5. Use controlled movements to avoid overstretching the metal. Work patiently, adjusting the pressure as needed based on the dent’s response.
  6. Continuously check the dent from the front to monitor progress. Use a light source or reflector board to highlight the dent and ensure accuracy.
  7. Switch to a different tip if necessary to refine the repair. Adjust your approach based on the feedback from the metal, ensuring a smooth and even finish.

After a minor parking lot collision, your car door has a small, sharp dent. A PDR technician would choose a sharp tip to apply precise pressure from behind the panel, carefully pushing out the dent. The technician’s expertise in selecting and using the right tip ensures the dent is removed without affecting the surrounding paint. This method maintains the integrity of the vehicle’s original paint job and avoids the need for costly and time-consuming repainting.

Paddle


Paddles are broad, flat tools used to spread out the force applied to a dent, making them ideal for smoothing out large areas. They are particularly useful for blending the edges of a dent into the surrounding metal, ensuring a seamless repair. Metal paddles are durable and capable of withstanding significant force, used for tough dents, while plastic paddles are gentle on the metal surface and paint, used for more delicate work.


The design of paddles allows for even force distribution, which is crucial for avoiding high spots or additional damage. Paddles come in various sizes and shapes to accommodate different dent types. Some paddles are designed with ergonomic handles to reduce user fatigue and enhance control. The versatility and effectiveness of paddles make them a vital tool in the PDR process, especially for large or complex dents.

How to Use Paddles Correctly


  1. Select the appropriate paddle based on the size and nature of the dent. For instance, a larger paddle is suitable for extensive damage, while a smaller one is ideal for more precise work.
  2. Place the paddle flat against the dented area, ensuring full contact with the surface. This position helps to distribute the force evenly.
  3. Use a hammer to tap the paddle, distributing the force evenly over the dent. Start with gentle taps to avoid causing additional damage.
  4. Start from the edges of the dent and work towards the center. This approach helps to blend the dent into the surrounding metal gradually.
  5. Apply consistent, gentle taps to avoid creating high spots. Use a rhythmic tapping motion to maintain even pressure.
  6. Continuously check your progress from different angles to ensure an even finish. Use a light source or reflector board to highlight the dent and verify your work.
  7. Repeat the process as needed to achieve a smooth surface. Adjust your technique based on the feedback from the metal, ensuring a flawless finish.

If your car has sustained a large dent from a fallen branch, a PDR technician would use a paddle to spread the force of the hammer taps evenly across the dent. This gradual and careful approach helps blend the dent back into the original shape, ensuring a smooth and undetectable repair. The use of paddles allows for a more controlled and efficient repair process, maintaining the vehicle’s aesthetic and structural integrity.

Lighting and Lamps


Proper lighting is crucial in PDR, as it allows technicians to see the precise contours and edges of a dent. Specialized PDR lights and reflector boards cast shadows over the dent, highlighting even the smallest imperfections and ensuring accuracy in the repair process. LED lamps provide bright, consistent light that can be adjusted to different angles, while reflector boards cast shadows over the dent, making it easier to see the contours and edges.


The role of lighting in PDR cannot be overstated. Adequate lighting not only enhances visibility but also helps in identifying subtle imperfections that might otherwise be missed. LED lamps are preferred for their brightness, energy efficiency, and longevity. Reflector boards complement the lighting by creating contrast, making the dents more visible. Together, these tools ensure that the technician can perform the repair with the highest level of precision.

How to Use Lighting Correctly


  1. Set up the LED lamp or reflector board in a stable position. Ensure that the light source is securely placed to avoid movement during the repair.
  2. Position the light or board at an angle that casts shadows over the dent. Adjust the angle to highlight the contours and edges of the dent clearly.
  3. Adjust the light or board until the dent’s contours and edges are clearly visible. Fine-tune the position to get the best possible view of the dent.
  4. Work on the dent while continuously observing it under the light to ensure precision. Use the shadows to guide your tool placement and pressure application.
  5. Move the light or board as needed to view the dent from different angles. This step ensures that all aspects of the dent are visible and accurately repaired.
  6. Ensure the workspace is well-lit to avoid missing any imperfections. Good overall lighting reduces the risk of overlooking any damage.
  7. Regularly step back and inspect the repair under the lighting to confirm accuracy. Take breaks to assess the progress and make necessary adjustments.

During the repair of multiple small dents caused by hail, a PDR technician uses a reflector board to cast shadows over each dent. This allows them to see the edges clearly and apply the right amount of pressure to restore the panel without missing any imperfections. Proper lighting ensures that even the smallest dents are fully repaired, maintaining the vehicle’s original appearance. The combination of LED lamps and reflector boards enhances the technician’s ability to achieve a flawless repair, preserving the vehicle’s value and aesthetics.

Common Problems with Paintless Dent Blending and How to Solve Them


Large and Deep Dents


Imagine a situation where you have to repair a car with a deep dent caused by hitting a pole. In such a case, apart from the usual tools, you will need flexible rods to create extra pressure inside the dent and help push it out from the inside. For blending, larger and deeper dents present a significant challenge due to the amount of force and precision required to restore the panel without causing additional damage.


When dealing with extensive damage that cannot be pushed out completely from the inside, consider using a combination of flexible rods and blending hammers. The rods help in applying targeted pressure from behind the panel, while the blending hammers smooth out the metal from the outside. Always control the force of the pressure you apply to avoid creating new dents and scratches.


How to Solve This Issue


  1. Use flexible rods to push the dent from the inside. Select a rod that matches the depth and shape of the dent.
  2. Apply controlled pressure with the rod to gradually push out the dent.
  3. Use a blending hammer to smooth the area from the outside. Start tapping around the edges of the dent and work towards the center.
  4. Continuously check the dent from different angles to ensure even pressure distribution.
  5. Experiment with different tools if necessary, but always maintain control to prevent further damage.


Bumps and Bulges After Repairs


Let’s say that after removing a dent, there is a small bulge left on the hood. This often happens when the metal overstretches or when the pressure applied during the repair was uneven. To achieve a smooth and even finish, you can use a pear-shaped hammer to gently press the bulge against the surface of the hood. The shape of the pear-shaped hammer allows for precise control and distributes the force evenly, preventing further damage to the metal.


Alternatively, plastic rods can be used to smooth the surface without scratching the paint. These rods are softer and more forgiving, making them ideal for finishing touches.


How to Solve This Issue


  1. Identify the exact location of the bulge using good lighting.
  2. Gently press the bulge with a pear-shaped hammer. Apply light, controlled taps to avoid creating new dents.
  3. Use plastic rods to smooth out the area. Gradually press and smooth the metal until it aligns with the surrounding surface.
  4. Continuously check your progress to ensure an even finish.
  5. Adjust your technique based on the feedback from the metal and the visual inspection.

Damage to Bodywork During Repair


Imagine that while repairing a dent, you notice that the body coating starts to peel off at the point of contact with the tools. This happens when tools are used too roughly or without proper care. To prevent this, it’s essential to use softer tools or cover the area with protective materials. Applying specialized masking tape around the dent can help prevent damage to the surrounding area and keep it in perfect condition.

Using tools with plastic or rubber tips can also reduce the risk of damaging the paint. These tips are softer and provide better control, especially in delicate areas.


How to Solve This Issue


  1. Apply specialized masking tape around the dent to protect the surrounding paint.
  2. Use tools with plastic or rubber tips to minimize the risk of damaging the paint.
  3. Apply gentle, controlled pressure to the dent. Avoid using excessive force that could peel off the paint.
  4. Continuously check the contact point of the tool to ensure the coating remains intact.
  5. If you notice any peeling, stop immediately and reassess your technique.

Problems in Determining the Exact Location of the Dent


One of the main challenges with paintless dent blending is determining the exact location of the dent on the car body. This issue is compounded when the dent is in a hard-to-reach area or is hidden behind other car elements such as panels or upholstery. Proper lighting is crucial for accurately locating the dent, assessing its depth, and planning the repair strategy.


Using additional lighting, such as special lamps or headlights, can help highlight the contours and edges of the dent, making it easier to see and assess. Reflector boards can also cast shadows over the dent, further enhancing visibility.


How to Solve This Issue


  1. Set up additional lighting around the dented area. Use LED lamps or specialized PDR lights for bright, focused illumination.
  2. Position the lights to cast shadows over the dent, highlighting its contours.
  3. Use reflector boards to create contrast and make the dent more visible.
  4. Continuously adjust the lighting as you work to maintain optimal visibility.
  5. Inspect the dent from different angles to ensure you have accurately determined its location and depth.

By addressing these common problems with the right tools and techniques, you can improve the efficiency and quality of your paintless dent blending repairs.

Leave a Reply