How to remove dents on the edge of a car: step by step
In this section, we’ll take a step-by-step look at the process of removing dents on the edges of a car using the PDR (Paintless Dent Removal) method. Regardless of your experience or specialization, everyone will be able to try their hand at it. These instructions will help you understand the key steps in the process and avoid common mistakes.
Every dent is unique, and you will need to adapt these steps to each specific situation. The key is to approach the process with care and attention to detail.
Step 1. Damage Assessment and Preparation
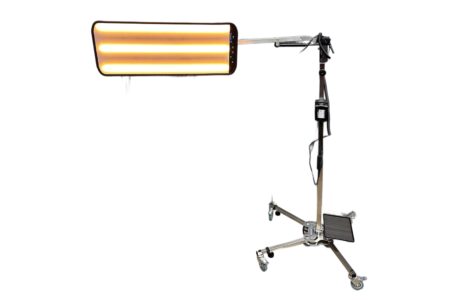
The first step in the car edge dent removal process is to thoroughly assess the damage. Spread out the lighting and start by visually inspecting the dent. Pay attention to its size, depth, and location. It’s important to assess how badly the metal is warped and if there are any sharp corners or creases.
Run your fingers over the surface of the dent to feel its contours. This will help determine how much the metal is stretched and if there are micro cracks in the paint. If the dent is on the edge of the door or hood, check to see if the damage has affected the functionality of the part.
After assessing the damage, you need to prepare a workspace. Choose a well-lit area and allow enough room to maneuver. Thoroughly clean the damaged area and surrounding areas with a special cleaner for automotive surfaces. This will not only improve the visibility of the damage, but will also provide a better grip for tools if an adhesive system is required.
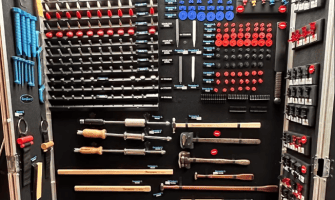
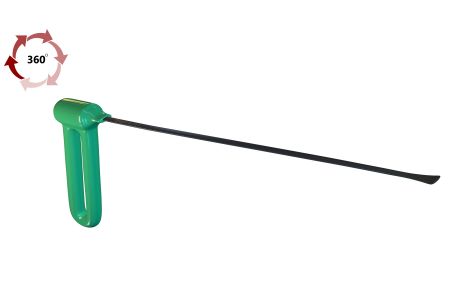
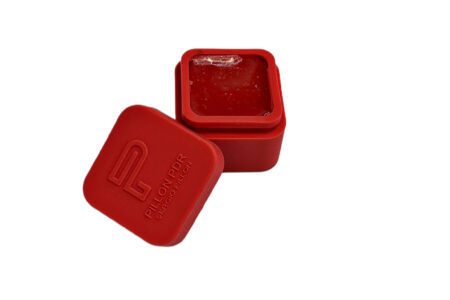
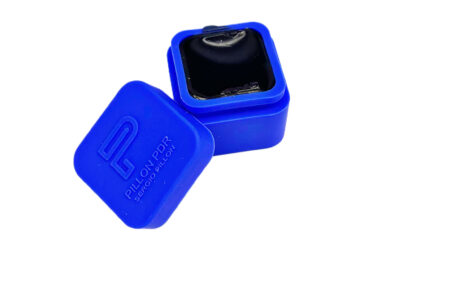
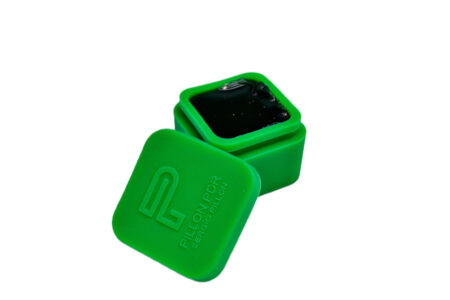
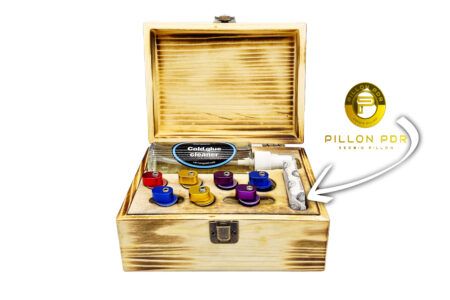
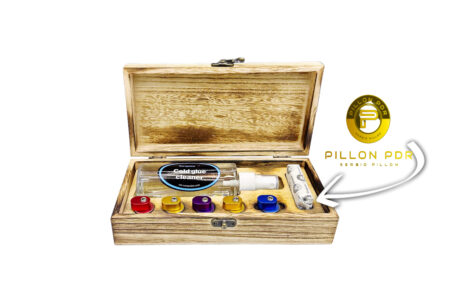
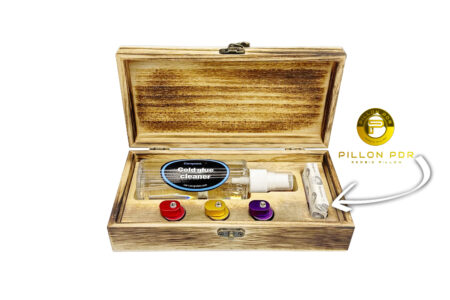
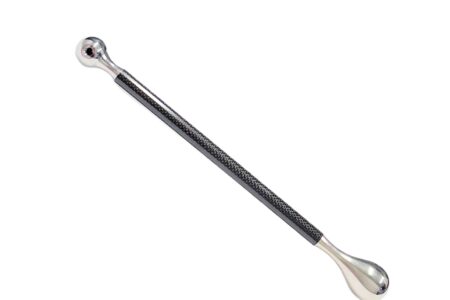
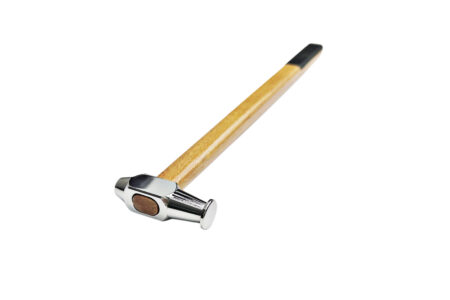
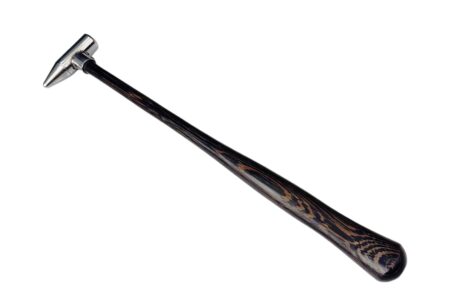
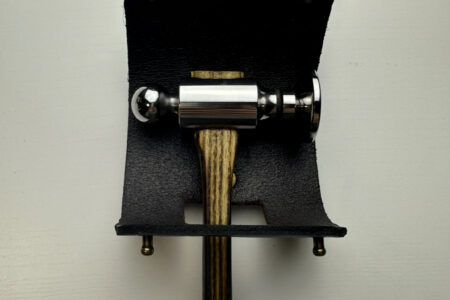
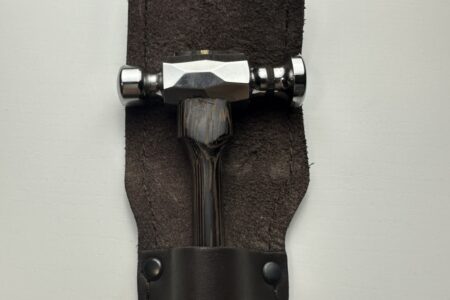
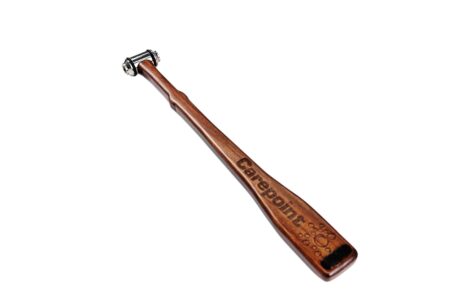
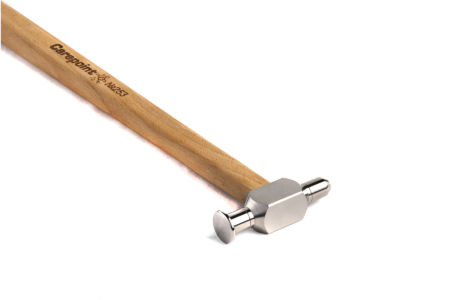
Prepare all the tools you need for the job: a set of levers and hooks of different sizes and shapes, a glue system with mushrooms, soft-tipped hammers, a reflective board or a special PDR light. Make sure all tools are clean and in good condition.
Finally, assess whether the dent is suitable for PDR repair. If the damage is too severe, there are sharp edges or cracks in the paint, a traditional body repair may be necessary. If in doubt, it is better to consult a professional.
Proper assessment and thorough preparation will lay the groundwork for a successful repair and help avoid unexpected problems along the way.
Step 2. Ensuring access to the dent
The next crucial step is ensuring proper access to the dent, which can be challenging, especially when dealing with the edges of car parts.
Start by determining the best path to access the dent. It’s important to identify a quick and convenient route. In some cases, you’ll need to partially disassemble the vehicle. For example, to reach a dent on the edge of a door, you might need to remove the interior trim. If the damage is on the edge of the hood or fender, removing components like headlights, the grille, or other nearby parts may be necessary.
Before you begin disassembly, take pictures of all parts in their original positions. This will help you reassemble everything correctly. Be particularly careful when handling wiring and connectors, as many modern vehicles have complex electronics. Accidental damage to wiring can lead to serious problems, so it’s advisable to take additional photos of the wiring and connectors to ensure you can reconnect or replace them if needed.
In some situations, full access to the backside of the dent might not be possible. When this happens, you’ll need to work through available access points, such as existing holes, or consider using repair methods from the front side.
Once you’ve secured access, reassess the damage. With a clearer view, you can more accurately determine the extent of the damage and select the most appropriate repair method.
Remember, securing proper access to the dent is critical for a successful repair. Take your time and proceed carefully during this step, as mistakes can cause further damage and complicate the process.
Step 3. Selecting a Repair Method and Getting Started
Once the damage has been assessed and the dent is accessible, the next step is to choose the most appropriate repair method. For dents on the edges of a car, there are usually two main approaches: working from the backside or from the front of the part.
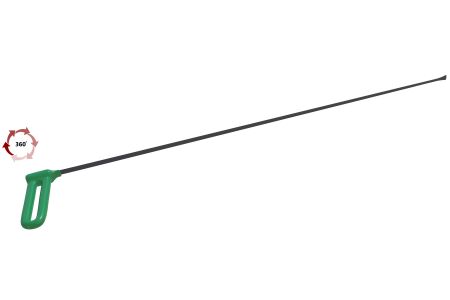
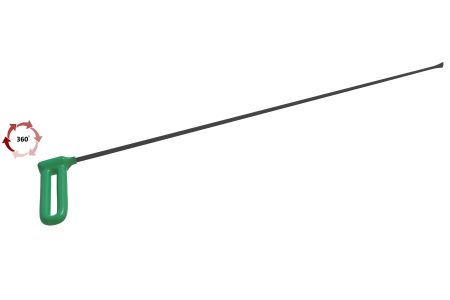
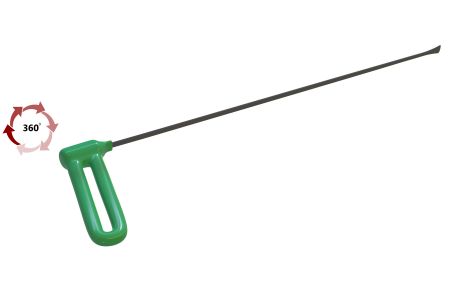
If you have access to the backside of the dent, this is the preferred method. You’ll need special levers and hooks of various shapes and sizes. Select the tool that best suits your particular dent, considering the size and location of the damage.
Start by applying light pressure to the center of the dent. It’s important not to apply too much force at once to avoid creating a bulge in the opposite direction. Work gradually, moving from the edges of the dent toward the center. This approach helps distribute the stress evenly across the metal, reducing the risk of creating new deformations.
If you cannot access the backside, you’ll need to use repair methods from the front. In this case, an adhesive system is often employed. Choose a glue tab (typically referred to as a “fungus”) that matches the size of the dent, and apply a special adhesive to its base. Attach the tab to the center of the dent and allow the glue to cure according to the manufacturer’s instructions.
Once the glue has set, gently begin pulling out the dent using the special tool attached to the tab. It’s important not to overdo it—the goal is not to eliminate the dent entirely in one go, but to gradually reduce its depth.
Throughout the process, continuously evaluate your progress. Use a reflective board or a specialized PDR lamp to detect even the smallest irregularities. Keep in mind that even minimal defects can be noticeable on the edges of parts.
Regardless of the method you select, the key to success is patience and precision. Avoid trying to fix the dent in a single attempt. It’s better to work incrementally, alternating between applying pressure or pulling and then checking the results.
If you notice the metal resisting or hear unusual sounds while working, stop and reassess the situation. You may need to adjust your approach or consult a professional if the damage is more complex than initially thought.
Step 4. The Dent Repair Process
This step is critical in the dent repair process and requires extra care, especially when working on the edges of car parts.
Begin with the deepest part of the dent, gradually working your way outward toward the edges. If you’re working from the backside, use levers and hooks to gently apply pressure to the metal. It’s important to maintain even pressure, avoiding sudden movements that could create new deformations.
If you’re using a front-facing adhesive system, after attaching the tab, pull it slowly and evenly toward you. Pay close attention to how the metal responses. If you encounter strong resistance, don’t force it, as this can stretch the metal or damage the paint.
As you work, regularly check your progress using a reflective board or PDR lamp. These tools help you detect even the smallest irregularities that might not be visible to the naked eye. Pay special attention to the transitions between the dented area and the surrounding surface—they should be smooth and seamless.
When dealing with a dent on a curved part of the edge, consider the natural curvature of the surface. Your goal is not just to flatten the metal, but to restore its original shape.
During the straightening process, you might encounter “high spots”—areas where the metal protrudes above the surrounding surface. To address these, use soft-tipped hammers to gently tap down the protruding areas. Always place a protective pad between the hammer and the car’s surface to avoid damaging the paint.
Remember that metal has a “shape memory,” and it might slightly revert to its deformed state after straightening. To counteract this, you may need to over-correct the dent slightly to account for this effect.
Be prepared for the straightening process to take some time, especially if the dent is complex or located on a particularly hard part of the edge. Take your time and don’t rush to achieve a perfect result in one attempt. It’s often helpful to take breaks to reassess your progress with fresh eyes.
Begin by carefully inspecting the repaired area under various lighting conditions. Use a PDR lamp, moving it at different angles to expose even the slightest irregularities. Pay close attention to the transitions between the repaired area and the surrounding surface—these should be completely smooth and seamless.
If you notice any small imperfections, use fine tools to correct them. These could include miniature levers or special nozzles designed for spot work. Exercise extreme caution at this stage, as excessive force or precision can unintentionally create new deformations.
Once you’re confident that the surface is perfectly smooth, run your fingers over the repaired area. This tactile inspection helps identify any subtle irregularities that may not be visible. If you feel any roughness or unevenness, revisit the previous steps to eliminate them.
Next, inspect the paint finish. Look carefully for micro-cracks, peeling, or any other damage to the paint. If you find any defects, you may need to perform localized polishing or, in extreme cases, spot painting to restore the finish.
If you used an adhesive system during the repair, ensure that all traces of adhesive have been completely removed from the surface. Use a special solvent designed to remove adhesive without damaging the paint.
If the repair involved disassembling any parts of the vehicle, carefully reassemble everything. Double-check that all elements are installed correctly, ensuring there are no gaps or protruding parts.
Conclude the process by test driving the car to ensure everything functions properly, especially if the repair was done on movable parts like doors or the hood.
Remember, the quality of the final finishing and inspection is crucial to the overall success of the repair. Take your time and be thorough to achieve the best possible result.